Seaview Snorkel Instructions
SNORKEL TUBE INSTALLATION INSTRUCTIONS


To begin, slip the snorkel tube over the mount on top of the mask. The plastic tab on the snorkel tube should be facing behind the mask.
1Once the tube hits the colored O-ring seal, gently push it forward while moving the tube side-to-side and pushing down firmly. Angling the tube is important so that it can work itself over the O-ring
2Push firmly until the tube is flush with the mount on the mask. Do not use excessive force to install the tube. This tight fit helps prevent leaking while the mask is in use.
3INTRODUCTION
Congratulations on your new Seaview 180° full-face snorkel purchase. Snorkeling just got easier! Seaview 180° is intended for surface snorkeling and allows you to breathe easily without lifting your head from the surface of the water. This snorkel mask is not intended for use in freediving or scuba diving. Please follow the instructions in this booklet carefully to maximize your snorkel experience and to maintain safe use of the product.
PREPARATION
When at the snorkel location, make sure there is no sand on the mask or tube. Sand can scratch the mask and impair breathing. If there is sand, rinse using water to clear sand from the breathing tube.
Once the mask is clean and ready for use, attach the breathing tube. Make sure the breathing tube is clear of debris.


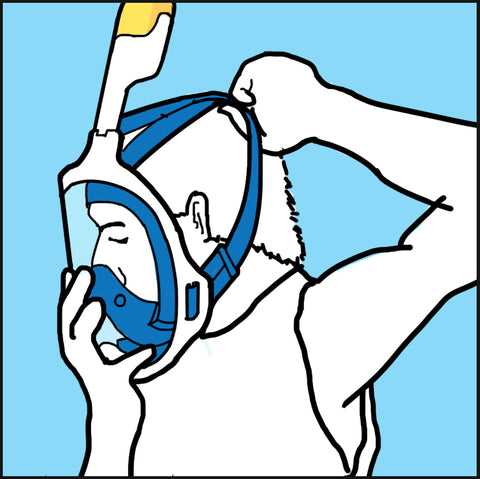
CHECKING THE SEAL


USE

CARE
To maximize the life of your Seaview 180°, rinse and soak with tap water using a small amount of detergent to help with cleaning. Wipe the mask down with a microfiber or non abrasive towel to prevent water spots and then allow the mask to air dry. Store the mask in the included nylon pouch and avoid exposure to direct sunlight and black rubber material as it could stain the silicone insert. Avoid leaving the mask in sandy areas when not in use.
WARRANTY
Seaview 180° comes with a one year warranty that covers manufacturer defects. To register, please visit: www.wildhornoutfitters.com/warranty
